Create a Front Garden Path with Gravel | IBRAN

First impressions count. Use this guide to create the perfect gravel garden path.
Welcome your guests with a gravel garden pathway that tells a story about your home, guiding them from start to finish, connecting your front garden to your home. This is your essential guide to easily creating that magical first impression - without specialist skills.
- Step 1 - Mark out the garden path with pegs and a line
- Step 2 - Dig out the area
- Step 3 - Lay sub base and/or sand
- Step 4 - Line the ground with weed suppressant
- Step 5 - Install gravel grids and edging
- Step 6 - Fill the grids with stone
Step 1 - Mark out the garden path
This essential step ensures that your front garden path follows a set shape and is guided along its course. As with any surfacing process, your best bet is to use wooden pegs or stakes and a string line tied to them. Push the pegs into the ground at the edges of where you want the pathway to follow. Pull the string tight between the pegs, looping the string around each peg, keeping the tension constant throughout.

After you have marked the edges of the pathway, take measurements of the length and width to get a good estimate of the area you're covering. You'll need that m2 area to calculate how much sub base/sand, membrane, grids and stone you'll need. For that we built three tools for you to use:
Step 2 - Dig out the area
This step is entirely dependent on how waterlogged your soil can get and whether you intend on edging the path. If you're using gravel grids to retain the stone and provide a wheelchair friendly and firm surface, it's a good idea to dig at least 60mm into the soil. This gives you enough depth for 10mm of sand, 40mm of grids and 10mm of gravel on top. You can also create a path directly on top of the soil without grids but this makes the black garden edge even more important.
If you need something even more firm, then a sub base will be an important part of your planning.
Step 3 - Lay the sub base and/or sand
This is covered in more depth in our sub base installation guide which takes you through the finer parts of how and why to use a sub base. But if you are looking to use your front path for anything more than general foot traffic, it's a good idea to install a 75mm sub base. This helps keep the ground firm which stops the top surface moving around when the ground gets wet.
For most pathways on most types of soil, a levelled, compacted 10mm layer of sharp sand is enough to create a foundation for your gravel path.
Step 4 - Line with weed suppressant membrane
Whether or not you choose to use a sub base, it's still important to use a permeable membrane to ensure that there is good separation of your layers. This helps to ensure that no stones are lost and keeps maintenance and weeding down to an absolute minimum.
If you're using gravel grids to create a garden pathway, the membrane also stops the grids sliding around.
Step 5 - Lay edging and gravel grids
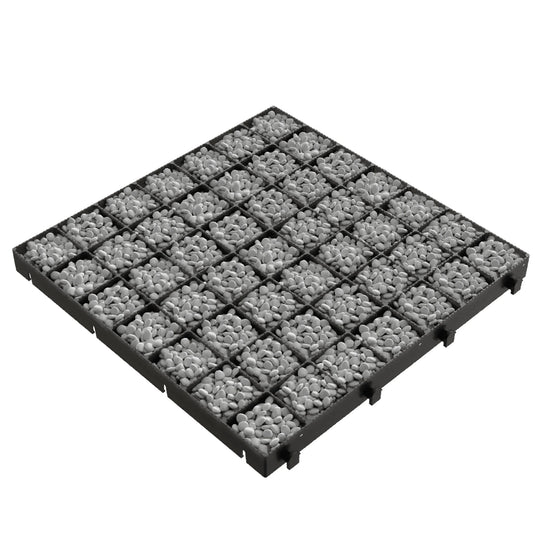
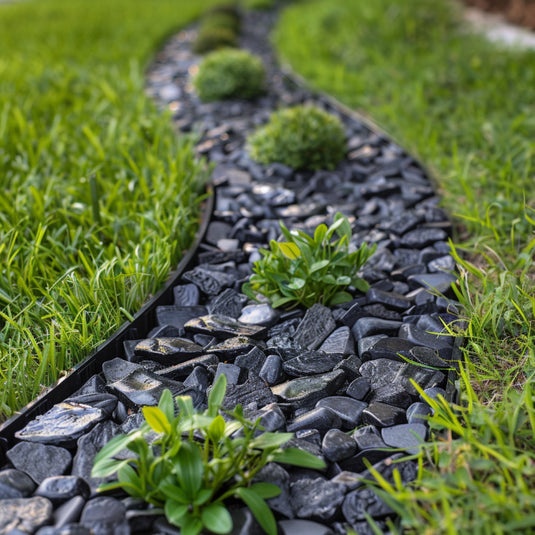
Make sure your pathway has solid, weatherproof gravel edging which helps to retain the stone and create definition for your pathway. For a firm footing and year-round grip, gravel grids are also an excellent choice. They hold the natural stone in place and also make the surface feel more like paving.

These pathway grids just click together on all four sides and can be assembled quickly and easily without specialist skills.
Step 6 - Fill with stone
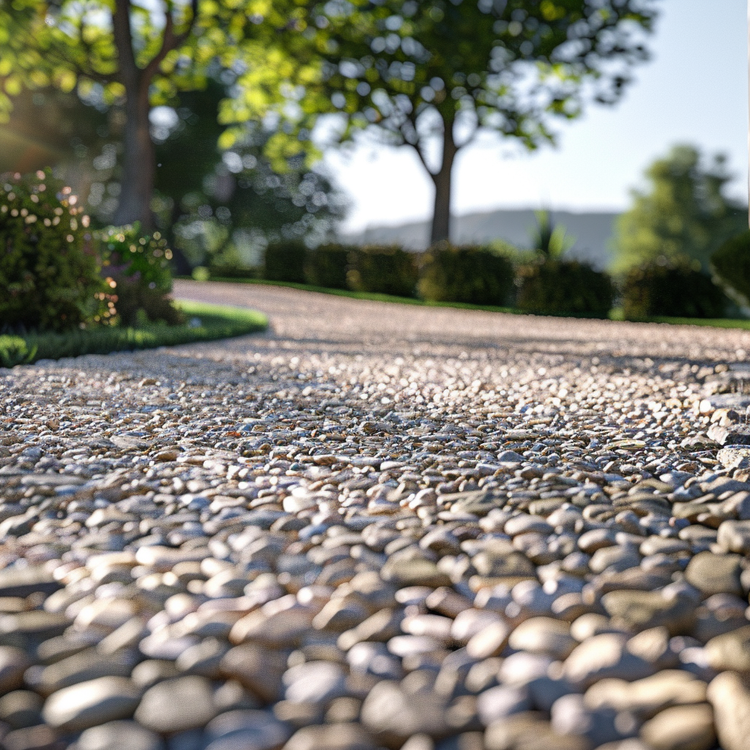
Lastly and most importantly, no gravel path is complete without a stylish choice of stone. This can be anything from 10mm - 30mm gravel when using grids and you can use any style you like the look of including golden gravel, white gravel, grey garden pebbles... you name it. Make sure to order enough to hide the grids with a 10mm layer. This helps give your front garden path a natural appearance whilst hiding what's keeping it strong underneath.
If you're not using grids, make sure to order enough to hide the membrane even when the stone's moved after being walked on a few times. If the gravel is too thin, the membrane will get ripped and become exposed, leading to weeds taking over and destroying your hard work!