How to Install a Shed Base Grid System | IBRAN

In less than an hour, your plastic shed base can be ready for your new shed.
Laying a plastic grid base for a shed is a practical and straightforward project that can be completed in less than a day with some basic tools and only the slightest bit of elbow grease. Here's a guide to help you get started and ensure your shed stands on a stable, well-drained foundation.
plastic-shed-base
Materials and Tools You'll Need:
- Plastic grid base grids
- Weed membrane
- Gravel (optional)
- Sand (optional)
- Spirit level
- Tape measure
- Shovel
- Rake

Step-by-Step Guide:
- Choose the Location: Select a level area in your garden where you want to place your shed. Ensure there is enough space around it for easy access and maintenance. It's also good to know if there are any underground utilities in this area to avoid damaging them during the installation.
- Prepare the Ground: Clear the area of any lumps such as vegetation, rocks, or debris. This ensures the base sits flat and securely on the ground. If the ground is uneven, you might need to level it with some sand or gravel. Use a rake or a long, straight piece of timber and a spirit level to get the surface as flat as possible.
- Lay the Weed Membrane (optional): When laying our shed base kits, the design of the grids incorporates a sturdy cross-shaped mesh at the bottom which stops them from pushing into the ground. But if you’re using sand to create a level, roll out some weed membrane over the entire area where the shed base will be laid. This helps provide a stable foundation and stops the grids migrating through the sand layers. Trim any excess membrane around the edges.
- Assemble the Plastic Grid Base Panels: Lay out the plastic grid panels on top of the membrane. These panels quickly slide and lock together, making assembly quick and easy. Ensure all the panels are securely connected and form a solid, uniform base.
- Fill the Grid (Optional): For added stability, you can fill the plastic grid panels with gravel. Simply pour the gravel into the grid and level it out with the stone sitting no higher than the top of the grids. If you have exposed “overhangs”, these should be filled to improve the appearance of the final installation.
- Check the Level: Use a spirit level to check that the entire base is level. This step is crucial as it ensures the shed will sit correctly and not experience any undue stress or warping over time. Make any necessary adjustments by adding or removing filler material.
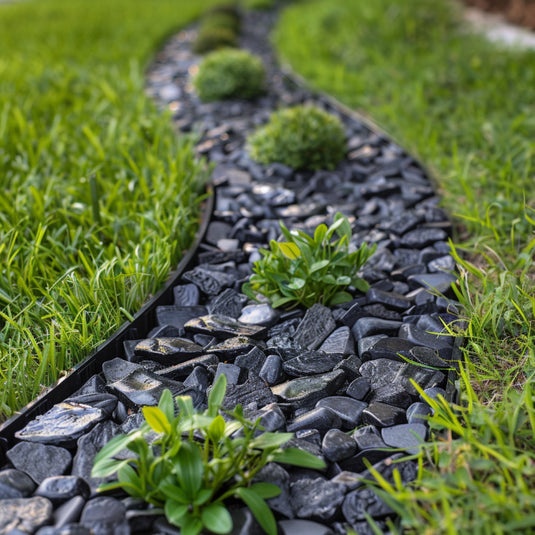
- Final Touches: Once the base is level and secure, double-check all the connections between the panels and the stability of the entire structure. Walk over the grid to ensure there are no wobbly or loose sections. Trim any excess weed membrane around the perimeter if needed. You may also want to install our grid ramps to protect the edges and make wheelbarrow access easier. Or to blend it seamlessly with your pathway or lawn, our lawn edging works really well for this.
- Install Your Shed: With the plastic grid base in place, you’re ready to install your shed. Follow the shed manufacturer's instructions for assembly. The grid base provides a stable, well-drained foundation that should keep your shed in good condition for years to come.

Benefits of a Plastic Grid Base:
- Durability: Plastic grid shed bases are resistant to rot and weather damage.
- Ease of Installation: They are lightweight and easy to connect, making the installation process simple. They are a much quicker alternative to
- Environmental Friendliness: Our plastic grid systems are made from recycled materials.
- Effective Drainage: The grid structure promotes excellent drainage, preventing water buildup and potential damage to the shed.
Compared to the time consuming, less sustainable option of building a concrete shed base, laying a plastic grid base for your shed is a relatively easy DIY project that offers a long-lasting solution for a sturdy, well-drained shed foundation. By following these steps, you can ensure your shed stands on a solid base, providing a secure and reliable structure for storage or any other use you have in mind.