How to Install Garden Border Edging | IBRAN

Our DIY guide on how to install garden edging
Creating a neatly defined garden border not only enhances the aesthetic appeal of your garden but also helps in managing plants and preventing the spread of grass and weeds. Here’s a casual guide on how to install garden border edging, covering everything from preparation to planting.
Follow these simple steps to create the perfect border with garden border edging:
Step 1 - Choose the right kind of edging
Step 2 - Order supplies and garden edging
Step 3 - Mark out and prepare the area
Step 4 - Install your garden edging
Step 5 - Plant out your garden border
Step 6 - Create gravel/chipping border
Step 1 - Choose the right kind of edging product
It helps to understand the various pros and cons of various different types of garden edging products. For example, wooden sleepers are very sturdy and look great with a solid, uncompromising charm. On the downside, large treated timber edges can be heavy and cumbersome.
Site access therefore becomes your biggest challenge and moving them around may not be possible, particularly if you have to go up flights of stairs. Plastic or steel options may be better suited to your project.
Alternatively you may prefer to use treated planks as garden edges, which are a great natural-looking option for crisp, straight lines. Creating curved beds with timber planks, whilst it is possible, takes a lot of technical skill and patience! This is another example of where plastic and metal options come into their own.
Step 2 - Order supplies and garden edging
Once you've decided upon the right kind of material, it's worth considering what tools you're going to need to complete the project.
- Stakes and string to mark the area.
- Anchor pegs for your edging
- Measuring equipment
- Half-moon edging tool / spade
- An appropriate saw
Lots of different types of edging have to be cut to fit the space. Regardless of the material type, you'll need a sharp saw in hand to trim the border edging to shape.
Be sure to order enough edging to extend the length of the border and be prepared to have to cut the edging to fit if necessary.
Step 3: Marking out and preparing the area
First, decide the shape and path of your garden edging. Use stakes and string to mark this area. This helps you visualise the final look and keeps you within the desired boundary. Next, dig out the soil along the marked line to a depth of about 20 to 25cm (around the depth of a spade). This process not only prepares the ground for the edging but also allows you to remove any weeds and their roots, ensuring a clean start. If using shallow edging, you will want to leave the edge of the soil high enough for it to be pegged down.
Step 4: Installing the Garden Edging
With the ground prepared, place the chosen edging material along the excavated trench. Whether you opt for steel edging or a recycled plastic border edge such as IBRAN-L border edging, ensure that it is evenly placed and firmly set. Adjust and bend the edging to follow the contours of your border precisely. Once positioned, anchor the edging strips with the pegs provided and backfill the trench with soil to secure the edging in place. This step is crucial for maintaining the shape and stability of your garden border.

Step 5: Choose the Plants
After installing the edging, it's time to decide on the plants for your border. Consider the following tips:
- Plant Density: For taller plants (around 1 meter or higher), aim for 3 to 5 plants per square meter. For smaller plants, you can increase this to 7 to 9 plants per square meter.
- Colour Scheme: Stick to 2 or 3 colours to avoid a cluttered look, especially in smaller gardens. A simpler colour palette often creates a more harmonious and visually pleasing border

Step 6: Planting the Plants
Now, it's time to plant. Follow these steps for a successful planting process:
- Remove Plants from Pots: Gently take the plants out of their pots to avoid damaging the roots. Carefully loosen the roots so that they are able to establish quickly in the border.
- Position the Plants: Place the plants in the prepared soil, ensuring they are at the correct depth. The plant base should be level with or slightly below the soil surface to prevent dehydration.
- Fill and Firm: Backfill the area around each plant with soil and press it down firmly to eliminate air pockets and secure the plants in place.
After planting, water the plants thoroughly to help them settle and establish in their new environment.
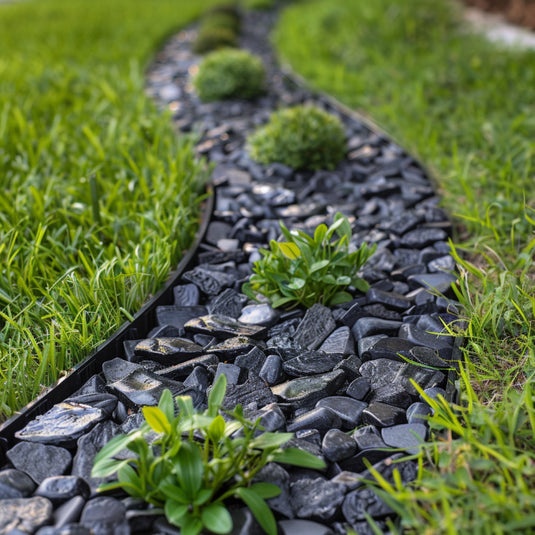
Bonus Step - Installing Garden Edging with Gravel or Chippings
If you prefer a gravel or chipping border instead of plants, follow these slightly modified steps:
- Excavate: Dig to a shallower depth of 5 to 8 centimeters.
- Weed Control Fabric: Lay weed control fabric in the excavated area to prevent weed growth.
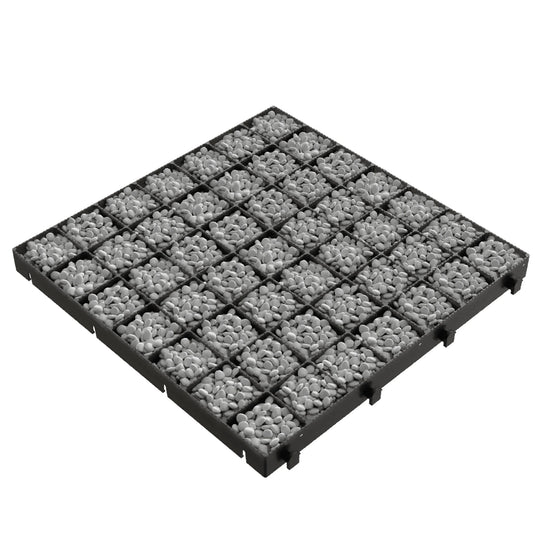
- Install Lawn Edge: Assemble the gravel edging on top of the membrane, anchoring the edges by pushing the pegs through the edging and through the membrane into the ground.
- Add Gravel or Chippings: Pour the gravel or chippings over the fabric, spreading it evenly to the desired thickness (5-8cm).
Weed control fabric is essential as it prevents weeds from sprouting through the gravel, ensuring a low-maintenance border.
Conclusion
Installing garden edging is a straightforward task that can significantly enhance your garden's appearance and functionality. By following these steps, you can create a neat, defined border that complements your garden’s design, whether you choose a plant-filled border or a gravel one. Happy gardening!