How to Install Grass Reinforcement Grids | IBRAN

Installing reinforcement grids in grass is a great way to enhance the durability and usability of your lawn or green spaces. IBRAN offers two efficient methods for installing these grids. Here's a step-by-step guide for both methods and some insights on maintaining your grass grids.
Method 1: Traditional Installation with Drainage Layer
Step 1: Prepare the Area
Begin by preparing the area where you want to install the grids. Measure and mark the boundaries accurately. Ensure the surface is level and free from large debris.
Step 2: Add Drainage Layer
Line the subsoil with a permeable membrane before creating a drainage layer using Type 3 MOT sub base. Compact and spread this stone layer evenly across the area to help with water drainage and prevent waterlogging. The depth of this layer can vary, but typically, around 60mm is enough.
Step 3: Install Geotextile Layer
Place a non-woven geotextile layer over the stone. This fabric helps to prevent the soil from mixing with the stone, maintaining effective drainage while supporting the grass above.

Step 4: Add layer of soil
To encourage your new grass to grow healthy and strong, add a 20-30mm layer of sandy soil mixed with gravel. This gives your grass plenty of nutrients to grow strong roots, whilst providing enough drainage and solidity to stop your grids moving around.
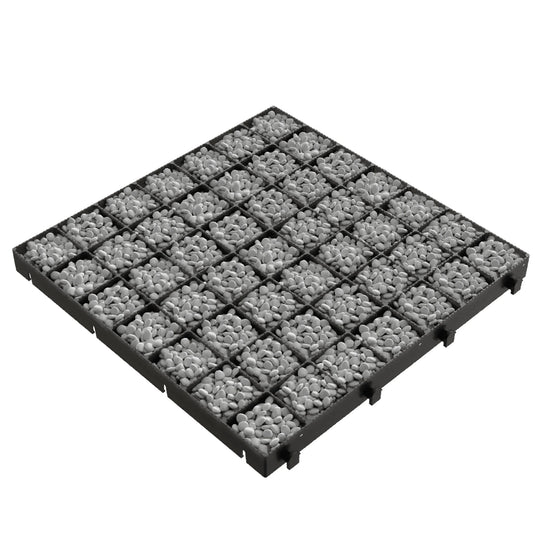
Step 5: Lay the Grid
Lay the IBRAN-X panels on top of the geotextile layer. Start from one corner and work your way outwards, ensuring the panels are aligned and securely connected. The grids should sit firmly on the geotextile layer.
Step 6: Fill the Grid
Fill the grids about 80% full with soil. This allows space for the seeds and additional soil to cover them. Use a soil mix that suits the type of grass or wildflowers you plan to grow.
Step 7: Seed and Cover
Evenly spread wildflower or grass seeds over the soil-filled grids. Lightly cover the seeds with a thin layer of soil to protect them and promote germination.
Step 8: Water and Monitor
Water the area thoroughly to help the seeds settle and start germination. Keep the soil consistently moist until the grass or wildflowers are well-established. Monitor growth regularly and ensure the area is adequately watered during dry periods.

Method 2: Quick Installation
Step 1: Prepare the Surface
Ensure the surface where you will install the grid is level and free from significant debris. This method is suitable for surfaces that do not require extensive drainage preparation.
Step 2: Install the Grid Upside Down
Take the IBRAN-X panels and place them upside down. Press the panels directly into the grass surface using a heavy roller. This method provides a quick, no-dig solution. Ensure the panels are securely pressed into the ground and level.
Maintenance and Mowing
Once the grass has grown through the grids, you can maintain the area just like any other lawn. Mowing and feeding the grass will not affect the underlying grid structure. The grids provide stability to the grass, preventing soil compaction and improving drainage, which helps maintain a healthy lawn.
Conclusion
IBRAN offers two effective methods for installing reinforcement grids in grass, catering to different needs and time constraints. Whether you choose the traditional method with a drainage layer or the quicker, no-dig installation, these grids will enhance the durability and appearance of your green spaces. With proper installation and maintenance, you can enjoy a robust, attractive lawn that stands up to regular use and weather conditions.